|
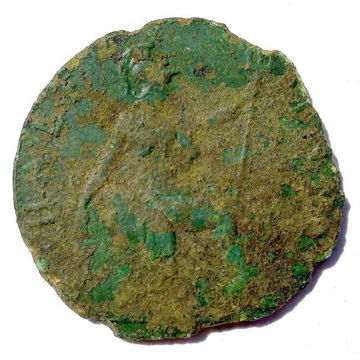
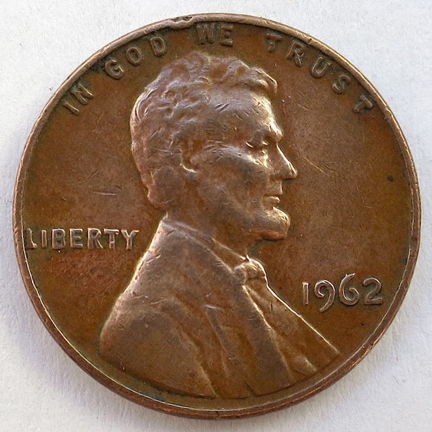
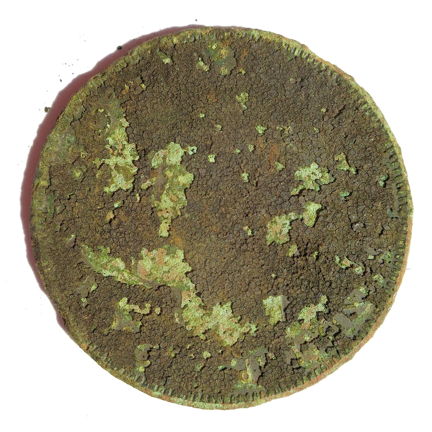
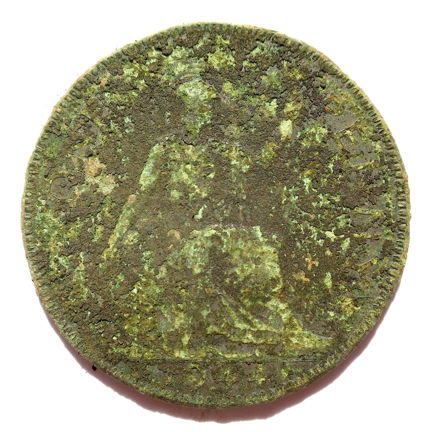
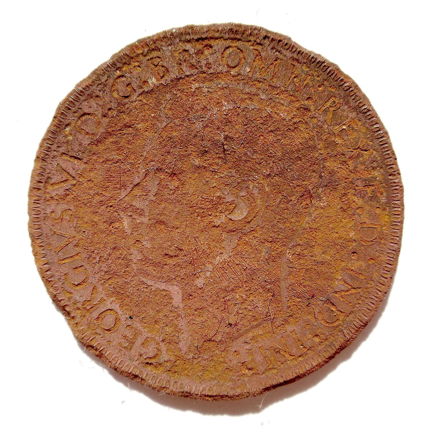
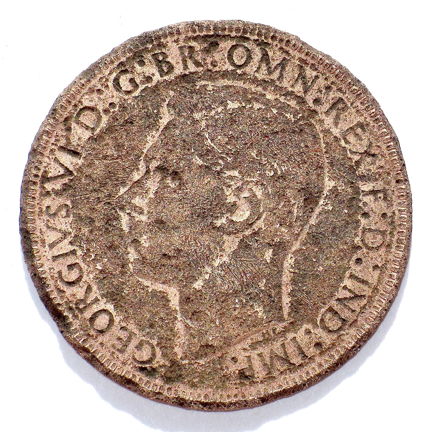
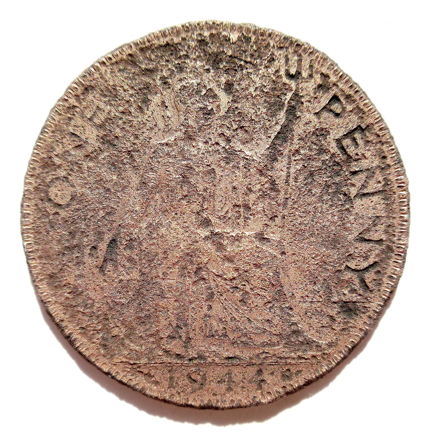
| Coins found by metal detectorists and mudlarks often look like this 1920s British halfpenny — corroded and tarnished beyond recognition, and with no real numismatic value. Should you try to clean it? How? |
Tarnish? Patina? What's the Difference?
"Tarnish" and "patina" are actually two different words for the same thing. Most metals, when exposed to air, eventually develop an extremely thin layer of molecules on their surface which chemically combine with reactive elements in the atmosphere: usually oxygen, sulfur or carbon. This layer, once formed, becomes inert and ends up protecting the inner part of the metal from further damage. What distinguishes the two terms, then? It's purely subjective. When we don't like the appearance of this outer layer, especially when it's darker, we tend to call it "tarnish." When we like the appearance of the outer layer, especially when it's lighter, we call it "patina." There are actually four levels of coin discoloration, presented here from mildest to most extreme: • Toning — An extremely light level of colorful patination that is sometimes deemed desirable by coin collectors. • Patina — An aesthetically appealing moderate level of patination that gives the impression of antiquity without actually obscuring any of the coin's features. On copper-based coins, it appears light brown or pale golden-red. • Tarnish — A dark, uneven or disfiguring degree of patination. On copper-based coins, it appears dark brown or even black. • Corrosion — A more destructive metallic degradation which has begun to reach the inner portion of the metal, often aided by moisture. On copper-based coins, it appears green. Because tarnish is not merely a layer of dirt but instead a layer of metal molecules that have bonded with oxygen or sulfur molecules from the air, whenever you remove tarnish you are admittedly removing metal from the coin itself. But, if done properly, it's such a microscopically tiny amount that the "damage" cannot be detected even under great magnification. |
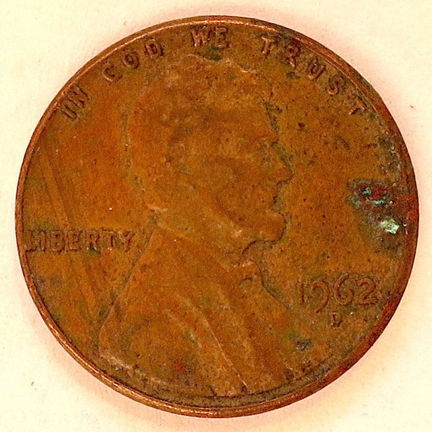
| Before | After |
 |
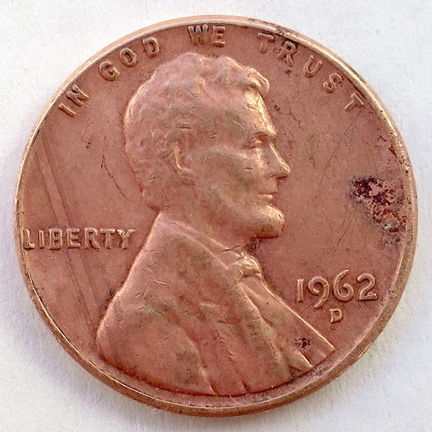 |
| Too harsh | Strips off all the patina | Changes the color of the metal | Erodes away corroded areas |
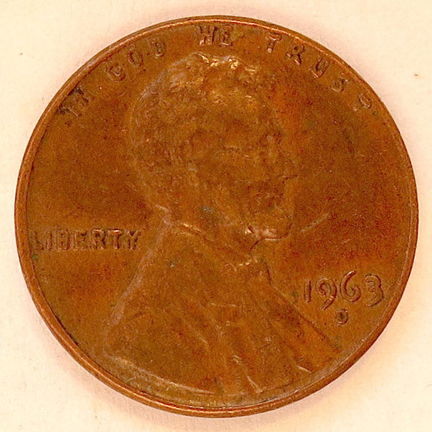
| Before | After |
 |
 |
| Too harsh | Strips off all the patina | Changes the color of the metal | Leaves discolored areas |
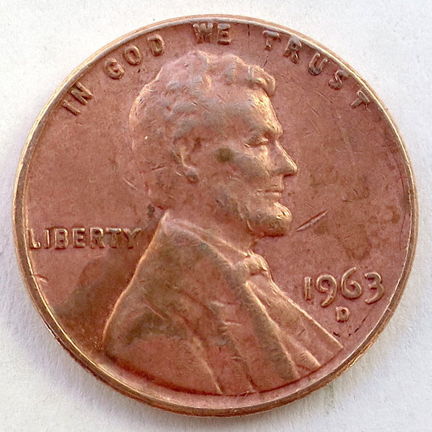
| Before | After |
 |
 |
| Removes most the tarnish | Strips off most the patina | Changes the color of the metal | Leaves discolored areas |
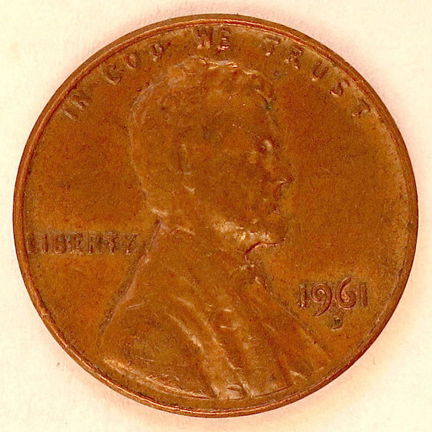
| Before | After |
 |
 |
| Removes the worst of the tarnish | Leaves some of the patina | Ruins the coin with scratches and scuff marks |
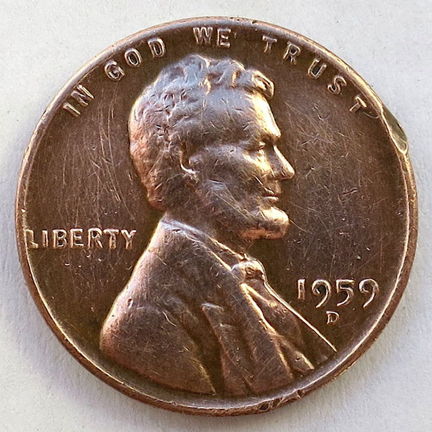
| Before | After |
 |
 |
| Completely removes all tarnish and patina | Does not change the color of the metal | Leaves the coin with a bright unnatural sparkle | Quickly eats away at any imperfections |
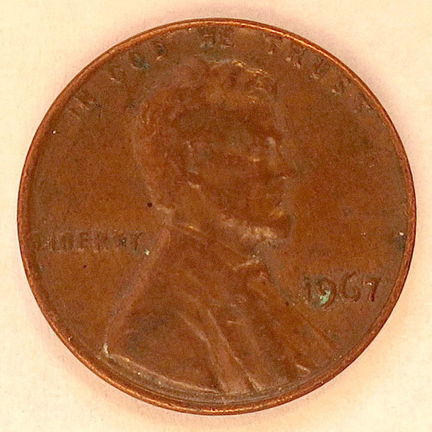
| Before | After |
 |
 |
| Completely removes all tarnish | Completely removes all patina | Does not change the color of the metal | Leaves the coin with a bright artificial shine |
| Before | After |
 |
 |
| Completely removes all tarnish | Completely removes all patina | Does not change the color of the metal | Leaves the coin with a bright artificial shine |
| Before | After |
 |
 |
| Completely removes all tarnish | Removes most, but not all, patina | Changes color of the metal, but only very slightly |
| Before | After |
 |
 |
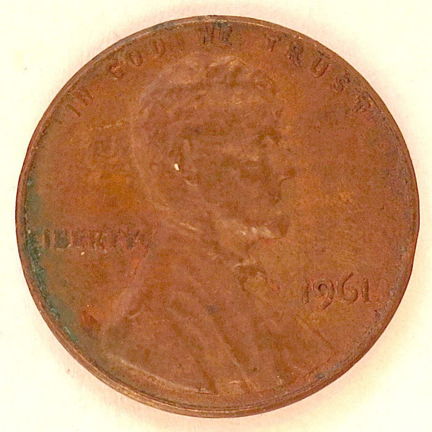
| Removes most tarnish | Leaves most patina | Does not noticeably change color of the metal | Causes the coin to became re-tarnished within weeks |
| Before | After |
 |
 |
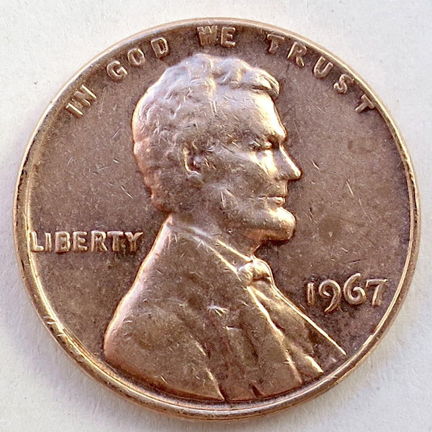
| Removes most tarnish | Leaves most patina intact | Does not change the color of the metal | May or may not leave microscopic abrasions |
| Before | After |
 |
 |
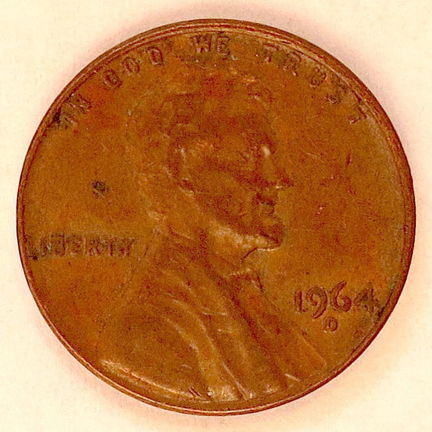
| Removes most tarnish | Leaves some patina intact | Does not change the color of the metal | Highlights imperfections |
| Before | After |
 |
 |
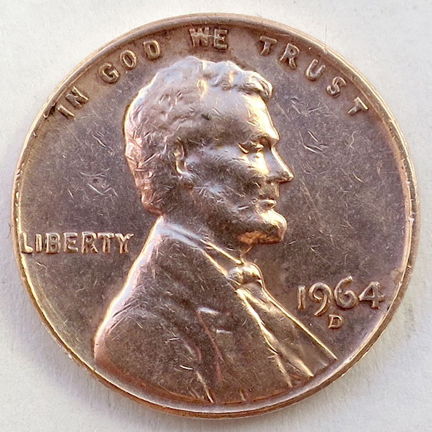
| Removes tarnish to whatever degree desired | Leaves patina mostly intact | Leaves the color of the metal unchanged | Can require a great deal of effort |

 |
 |
 |
 |
 |
 |